Scavenger's Chasm
Scavenger's Chasm
- Type
- Jumping puzzle
- Area
- Valley of Lyss
(Malchor's Leap)
| Image(s) |
|
Click to enlarge. |
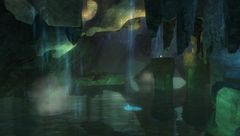
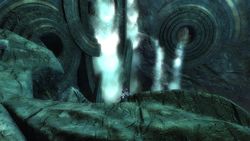
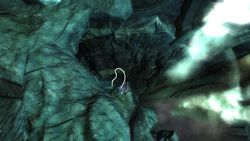
Scavenger's Chasm is a jumping puzzle located at Hope Falls in Malchor's Leap.
Getting there[edit]
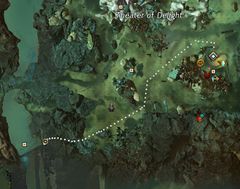
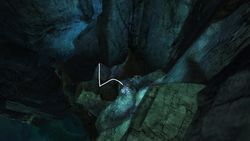
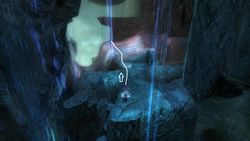
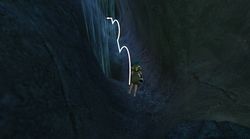
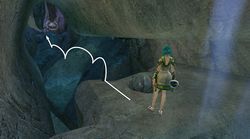
To reach the entrance, take the Pagga's Waypoint — and head west until you reach the cliff. Follow the cliff south until you are right before the waterfall. You should see a little ledge just beside (not behind) the waterfall. Drop onto the ledge and continue to work your way down. Once you're at the bottom, enter the cave in the cliffside - the cave contains two Risen spiders and an Orrian Spectral Guard.
Walkthrough[edit]
| Search YouTube for videos related to Scavenger's Chasm. |
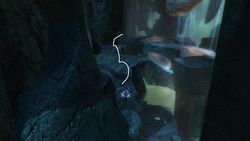
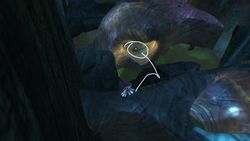
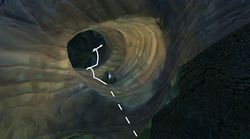
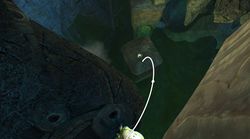
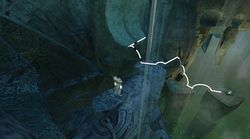
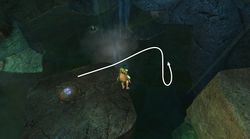
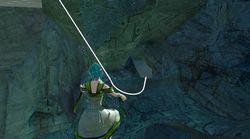
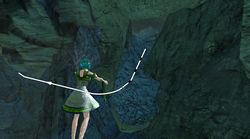
IntroductionThe goal of the puzzle is to open three chests any time before the daily reset, using a total of 12 Orrian Energy Sources (orbs) hidden in the puzzle area; one chest requires two to open, one needs four, and the last needs six. The chests must be opened in order (2 → 4 → 6). The last chest will open after inserting only five orbs, but you need to insert one more to unlock the achievement. The walkthrough covers the location of the orbs, but not all the possible routes.
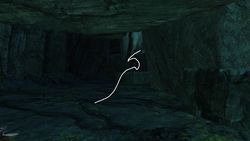
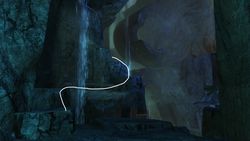
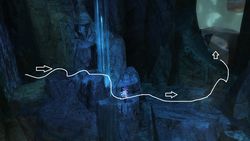
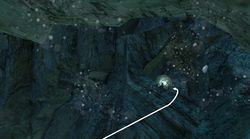
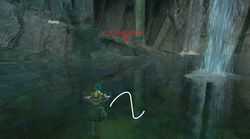
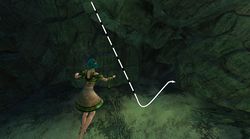
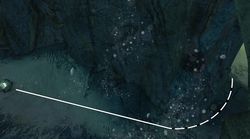
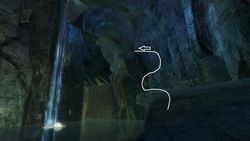
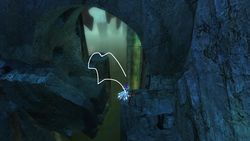
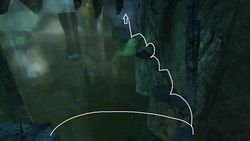
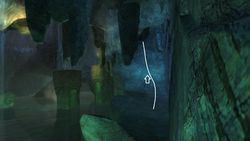
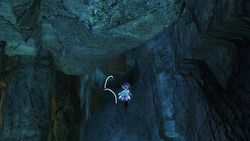
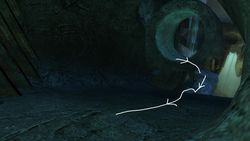
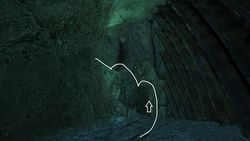
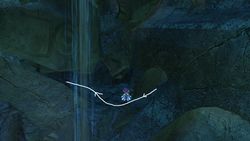
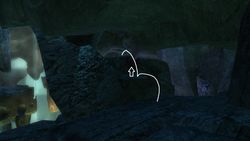
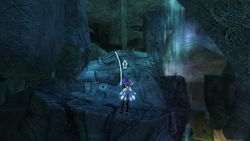
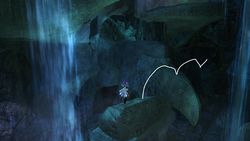
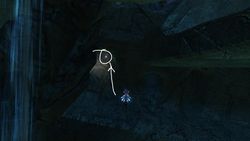
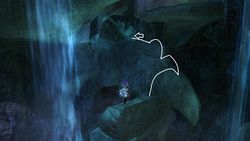
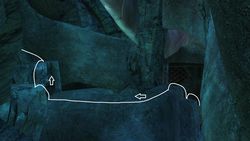
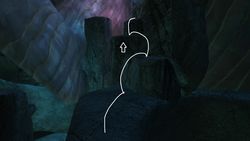
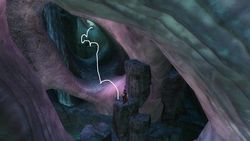
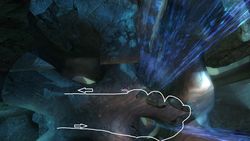
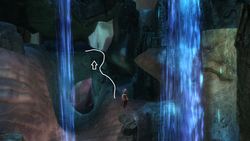
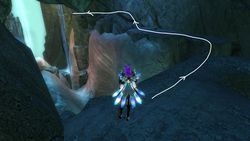
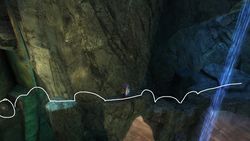
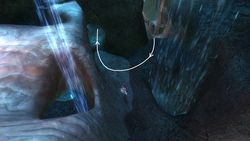
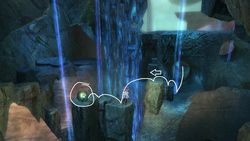
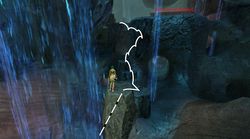
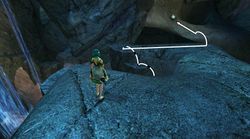
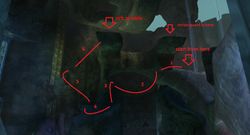
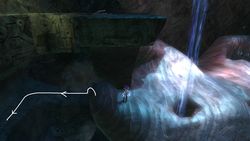
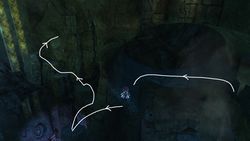
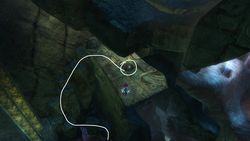
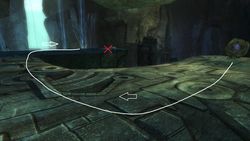
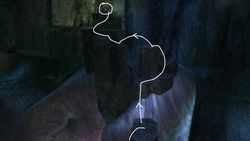
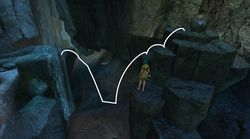
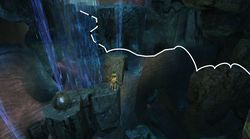
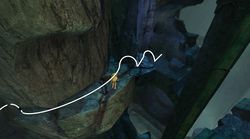
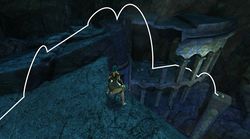
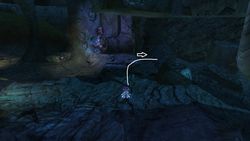
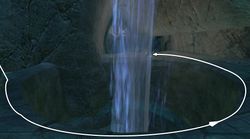
Getting thereTo reach the entrance, follow the eastern side of the cliff until you are right before the waterfall. Now, you should see a little ledge just beside (not behind) the waterfall. Drop onto the ledge and continue to work your way down. Once you're at the bottom, enter the cave in the cliffside - the cave contains two spiders and an Orrian Spectral Guard. Orb locationsOrb #1This orb is most easily reached when you first enter the puzzle by following the left wall, jumping to platforms as necessary and then jumping down to the orb. Be careful not to bounce off the low hanging opening. Alternatively, if you have fallen in the water, you can work your way back to the patterned rock, clamber up further, and jump down to Orb #1 from above. Orb #2From Orb #1, stay at the elevated level and jump east away from the opening. A carefully positioned jump can clear the slope to the southeast, and land on the pillar sticking out of the water below with the second orb. If you miss the jump and fall in the water, go for Orb #3 and Orb #4 first as these are in the water anyway. You can approach Orb #2 later (en-route to Orb #5). Firstly, follow the steps marked "Getting out of the water - Steps 1-5" below. From the stone ring, jump out to the first step, and then turn back to face the stone ring. There is a dark tunnel to the right of it - if you follow this tunnel you will reach a set of steep steps leading downwards. Leap across the water to Orb #2. You can then jump back to the steps and the ring structure, and follow this guide from "Getting out of the water - Step 6" below. Orb #3Jump into the water and head to the eastern side along the surface as far as possible, and then dive down. There is a tunnel heading down and in a north-eastern direction. Swim down through the short tunnel, and then take a sharp right and follow the right wall to an orb nestled in an alcove. After picking up the orb, turn around and follow the same route out back into the main chamber. Orb #4From the surface of the water in the main chamber, head all the way to the west. You'll see an Orrian Spectral Guard on a ledge with a ramp leading up - ignore it for now and swim beneath the right-hand edge of the ramp. There is a small cave opening at the bottom of the pool. Go into the cave opening, following the right wall to an orb. Afterwards, exit the small cave back to the water in the main chamber. Orb #5From the water, swim to the bottom of the ramp with the Orrian Spectral Guard. Kill the guard. Climb up the dozen steps at the far end of the ramp. Jump across to the north, and then a further slightly longer jump (use swiftness or position carefully). Then face east and towards the south wall - jump down onto the platform below. Continue jumping along the edge until you reach the short slippery slope. Jump up the left-hand side of the slope. Carefully jump onto the edge of the stone ring at the top. Jump slightly to the left after the ring, then continue onwards with a further jump (over the water) into a tunnel with a grating at the end. Use the steps at the far end on the left and walk through the short tunnel. At this point there is a patterned stone at an angle on your left beside a finger of rock sticking out. The above steps can be used to get out of the water at any point should you unintentionally fall in. Starting from the patterned stone, jump to the finger of rock, and then to a platform to the east (with a tunnel right behind it). Go through the tunnel, and behind it is an alcove with another orb. It may take some fiddling around with jumping and moving to actually get to the point where you can interact with the orb. After picking up the orb, walk back down the alcove, into the tunnel and jump back to the finger of rock. Orb #6From the finger of rock, this time work your way up the steps to the left. Be careful of the large holes in the floor, and you will find some more steps at the back leading to a ramp. Go up the ramp and jump onto the edge of the platform with a big hole in the middle. On the left, jump up four steps. At this point if you momentarily look left (southeast), you can see the chest area. For now, look right (west) and you'll see a huge tunnel with a waterfall going through a hole on the left of the tunnel. Jump into that tunnel and make your way up the steps at the back of it. Jump onto the second rock on the right, and up the four rocks on the left, which will turn you the other direction (east). Continue forward and up another set of four rocks. Turn left (before the waterfall) and jump onto the wide flat platform on the left. You will now see Orb 7, but work your away along the ledges on the right towards Orb 6. As you get to the last ledge, if you shift the camera around the curve, you will see Orb 6 a few platforms away. Jump the platforms to that orb. You can work your way back for Orb 7 now. Orb #7Retrace your jumps along the northern wall ledges until you reach the steps on the right which brought you up to this level (last time you turned left). This time head to the right of the steps where there is a small tunnel. Head through the tunnel and jump over the waterfall hole at the end. You will now see Orb 7, and there are a few platforms that you need to jump to to reach it - note that one of the jumps is a long jump (use swiftness or precise positioning). Orb #8Jump back across the gap. Facing east and looking up, you should be able to see another Orrian Spectral Guard. You should also be able to see a set of steps to the left of the nearby waterfall. Climb the eight steps. Orb 8 is just to the north of the top of the steps - jump across to it. Orb #9Jump back, and work your way east along the light colored stone (no jumps needed). You will get to the end of the light colored stone and see the final chests. From here, jump to the right, and just keep along the right wall - you will get a series of stone steps - just jump up them and you will get to a U-shaped platform with a patterned floor, with an orb right in front of you. Orb #10At the other end of the U-shaped platform there will be an Orrian Spectral Guard. Kill it. The next gap requires a long jump (use swiftness or precise positioning). Jump northward from the platform to a much lower platform on the other side. Clamber up the steps to get Orb 10. Orb #11From your vantage point at Orb 10, face southwest (i.e. with the chest area on your far left) and step down carefully to retrace your steps to Orb 8. Jump across the gap and down the steps towards Orb 7. Along the southern wall are a series of stone ledges. Jump along them, and keep working westward - there will a couple of platforms, a tunnel, and another platform. Pause when you can see the ruined building with yet another Orrian Spectral Guard in it. Orb 11 is on the pillar to the right of the building. Jump across onto a narrow pillar, and then down into the building. Kill the guard, then carefully jump out onto the orb pillar. From here you need to climb back up to the chest area. You can either drop into the water or drop directly onto the path beyond the ramp out of the water. Either way, retrace your steps along the southern wall, up the slippery slope and back to the patterned stone with the stone finger. Orb #12Jump from the patterned stone onto the stone finger, and then-avoiding holes in the floor-climb up the steps, the rock ramp and the four stone steps. (You visited this spot on your way to Orb 6). This time, head left at the top of the four stone steps and jump over to the chest area. There will be a small tunnel on the right, with two waterfalls cascading through holes in the floor. Go to the end of that tunnel - be careful, you need to position yourself closer to the right wall to jump over the hole for the second waterfall, or use a speed boost. (If you fall through that hole, you may fall to your death and need to restart from a waypoint.) At the end of the passage, to the left will be a hole in the left side wall - go through it, walk carefully around the edge of the ring, and get the last orb. To return to the chest area, jump east across the gaps with a speedboost. ExitingNear the chests is a bunch of stone steps to the north - this will lead out of the puzzle to a high platform to the south of Pagga's Waypoint. Be careful on the descent - many of the drops are far enough to kill you if you don't have gliding. |
Rewards[edit]
- The final chest has a chance to drop Recipe: Rune of Scavenging
Related achievements[edit]
 Jumping Puzzles: Scavenger's Chasm — Complete the jumping puzzle. (10)
 Daily: Daily Scavenger's Chasm Jumping Puzzle — Complete the Scavenger's Chasm jumping puzzle in Malchor's Leap. (0
 ) (Historical)
Notes[edit]
- The puzzle has a daily reset. You can open the chests once per day, however, you can collect the orbs which open the chests repeatedly.
- You can reach the Scavenger's Chasm Mastery Insight from the jumping puzzle.
- Although designed to be reached by falling from the ledge above the entrance, with gliding it is now also possible to jump from the opposite side of the chasm or from the bridge to enter. You can also enter by using mounts to scale the mountain from outside.
- Interacting with an Orrian Treasure Chest at the end of the puzzle before adding enough power sources will yield the message "It is of little use to know the way if the way you know has changed."
- You must interact with all of the orbs in front of the chests to get the achievement.
