Guild Bounty Training
From Guild Wars 2 Wiki
Jump to navigationJump to search
A Guild Bounty Training is a type of Guild Bounty, with only one target instead of two or more. It costs far less to unlock, thus giving smaller guilds the opportunity to build influence more quickly to unlock other types of guild missions, but does not award any Guild Merits.
Unlocking[edit]
- Prerequisite:
 Research Art of War Level 3

Per Mission[edit]
- Cost: 300
 + 72 hours of research time.
Rewards[edit]
- 3000
Possible targets[edit]
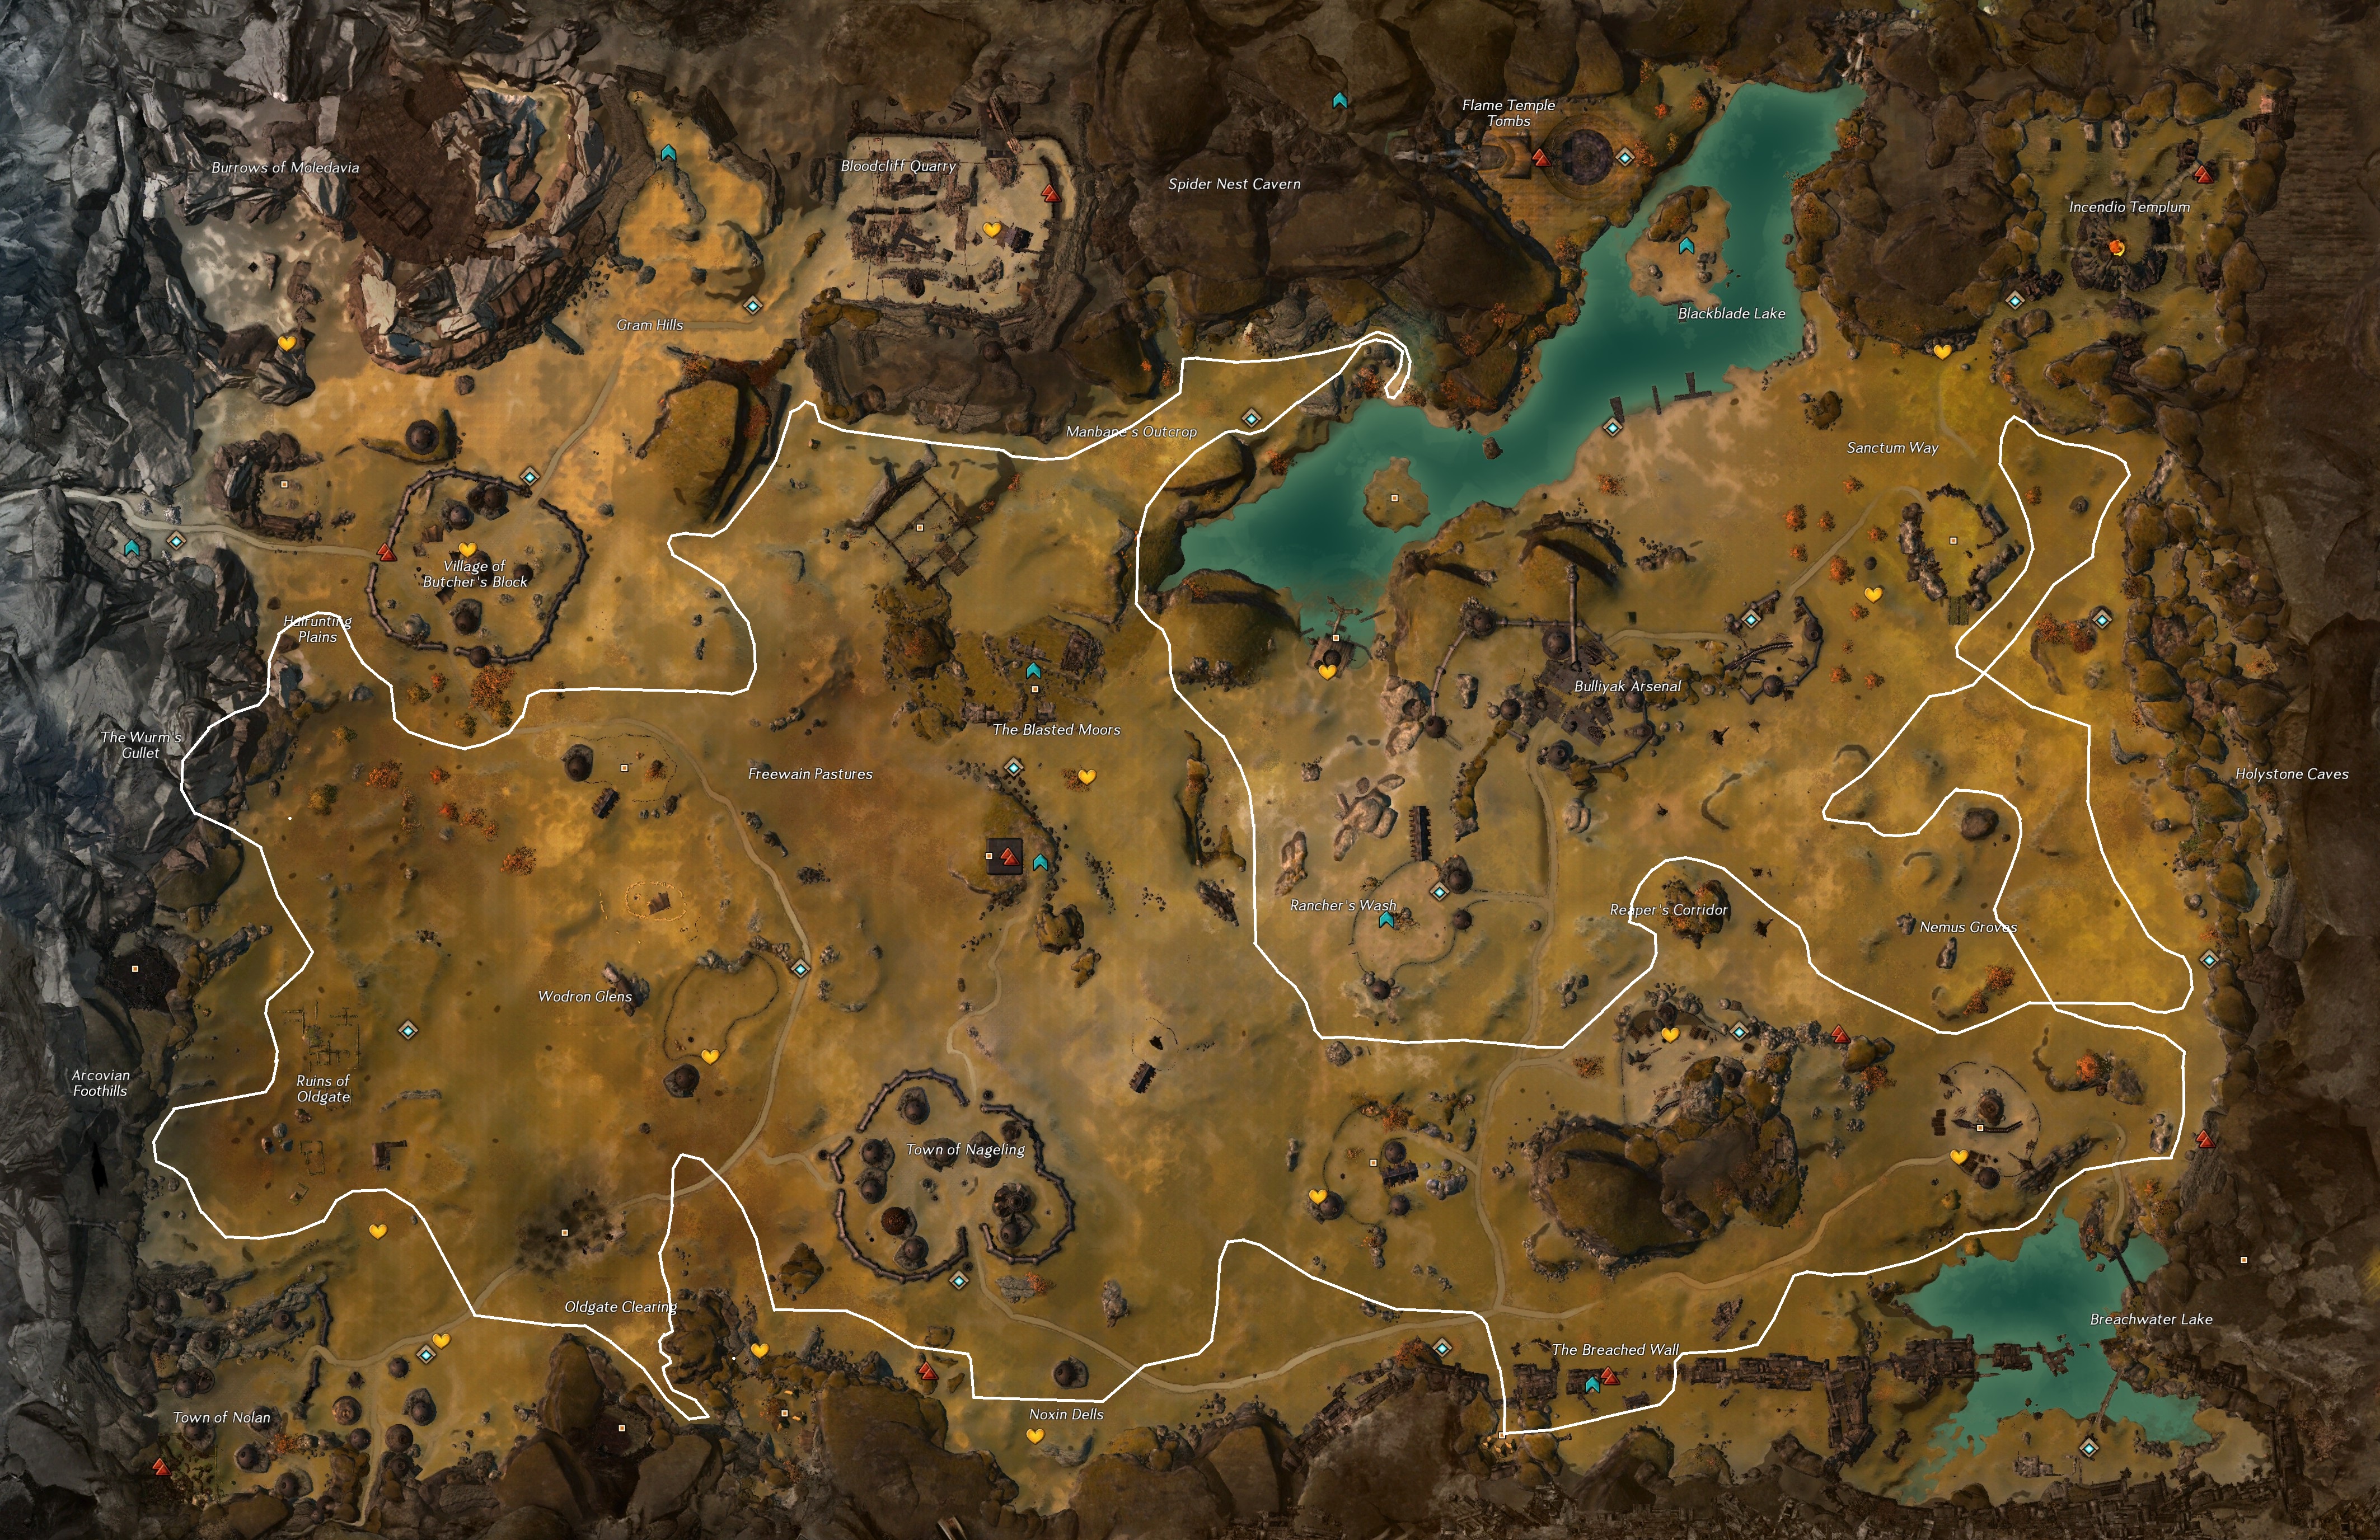
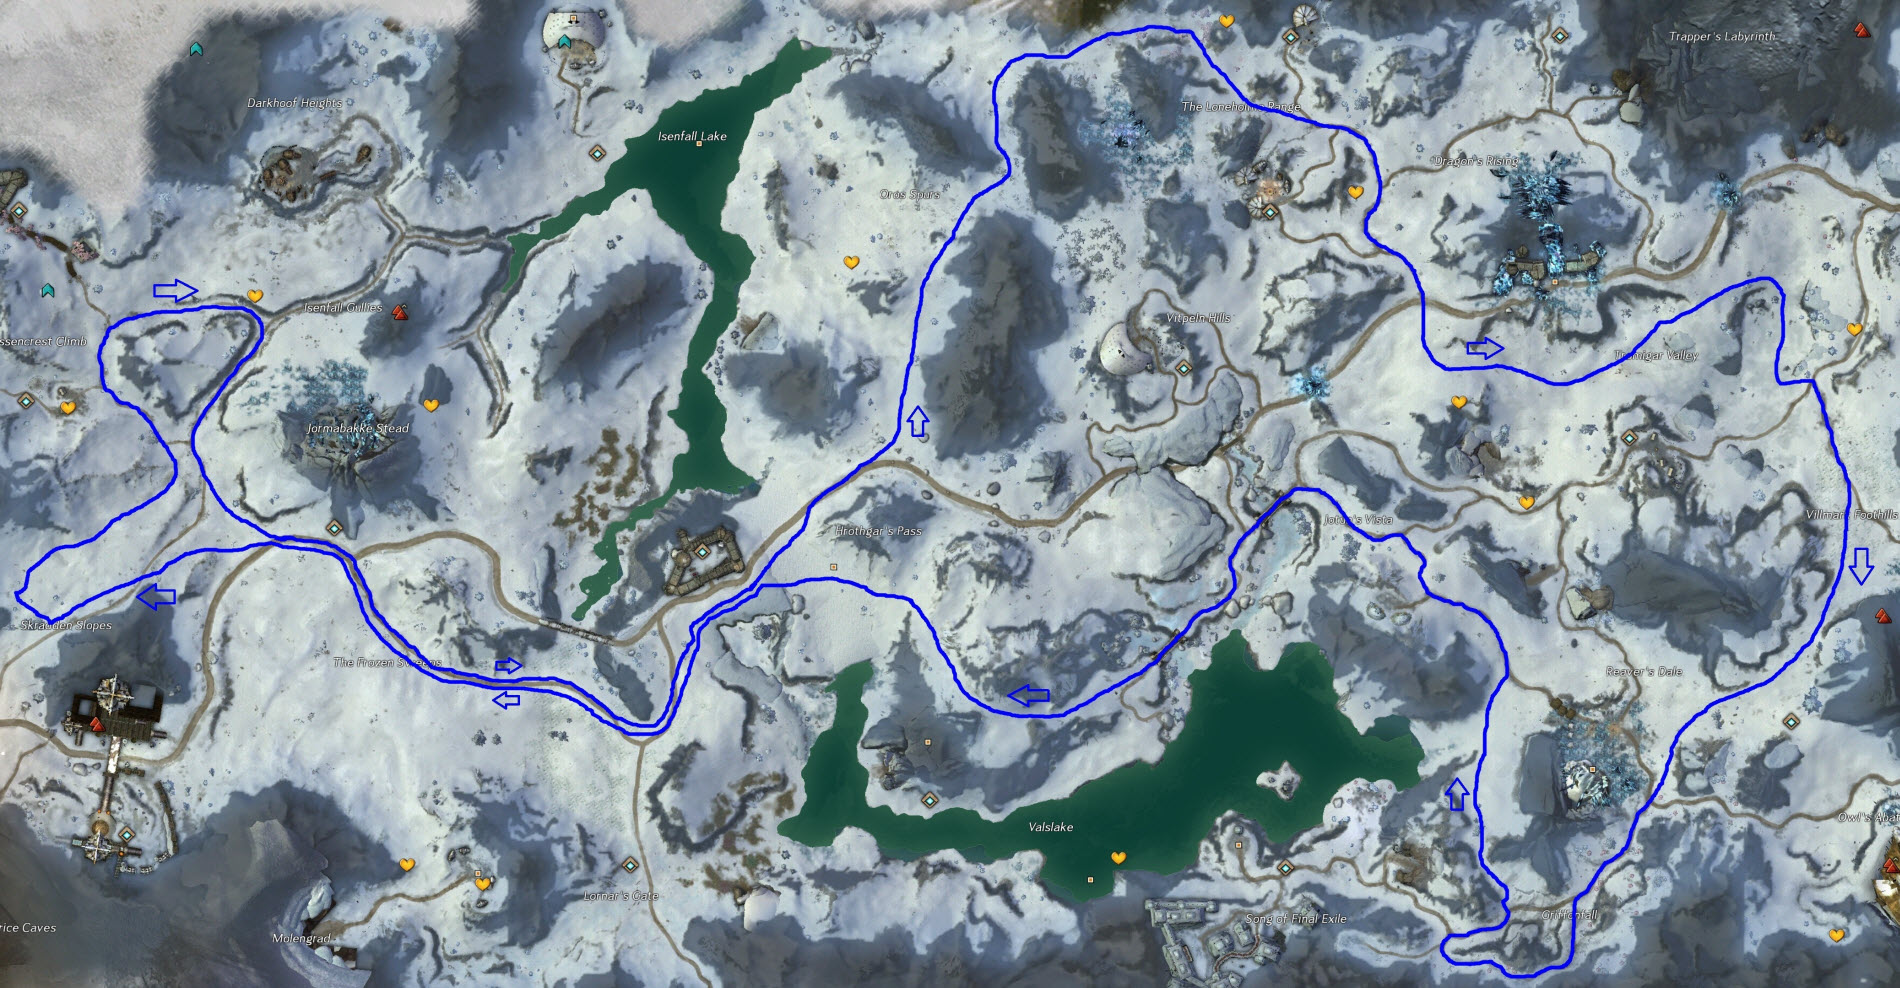
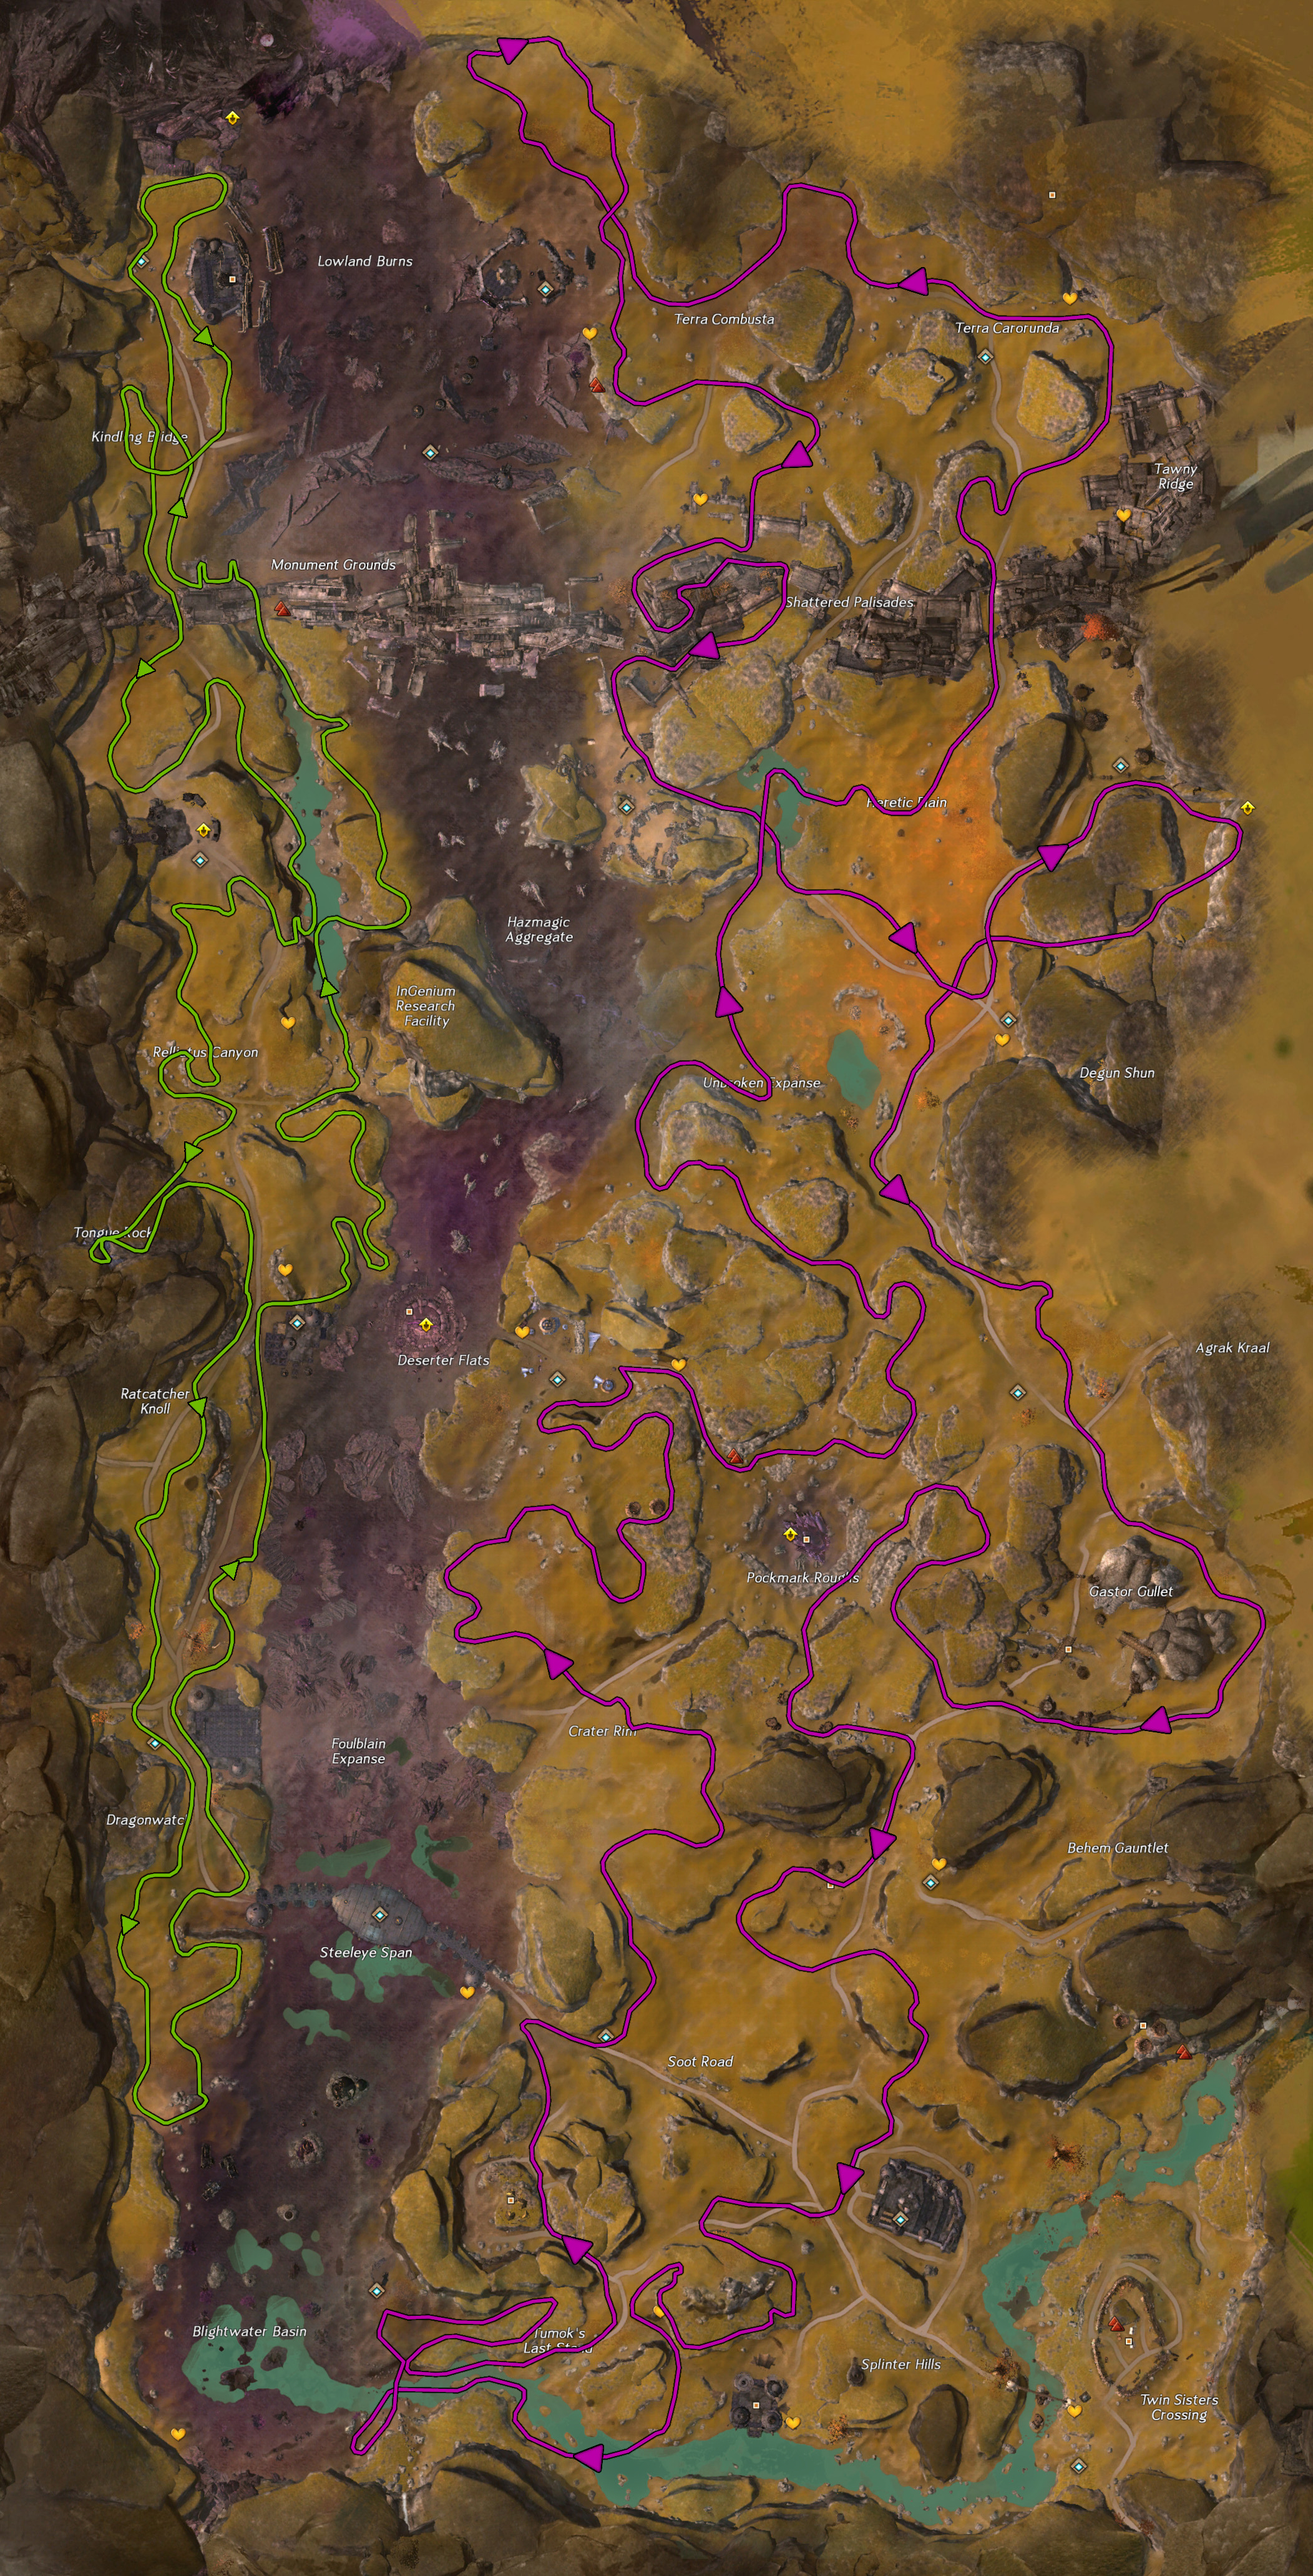
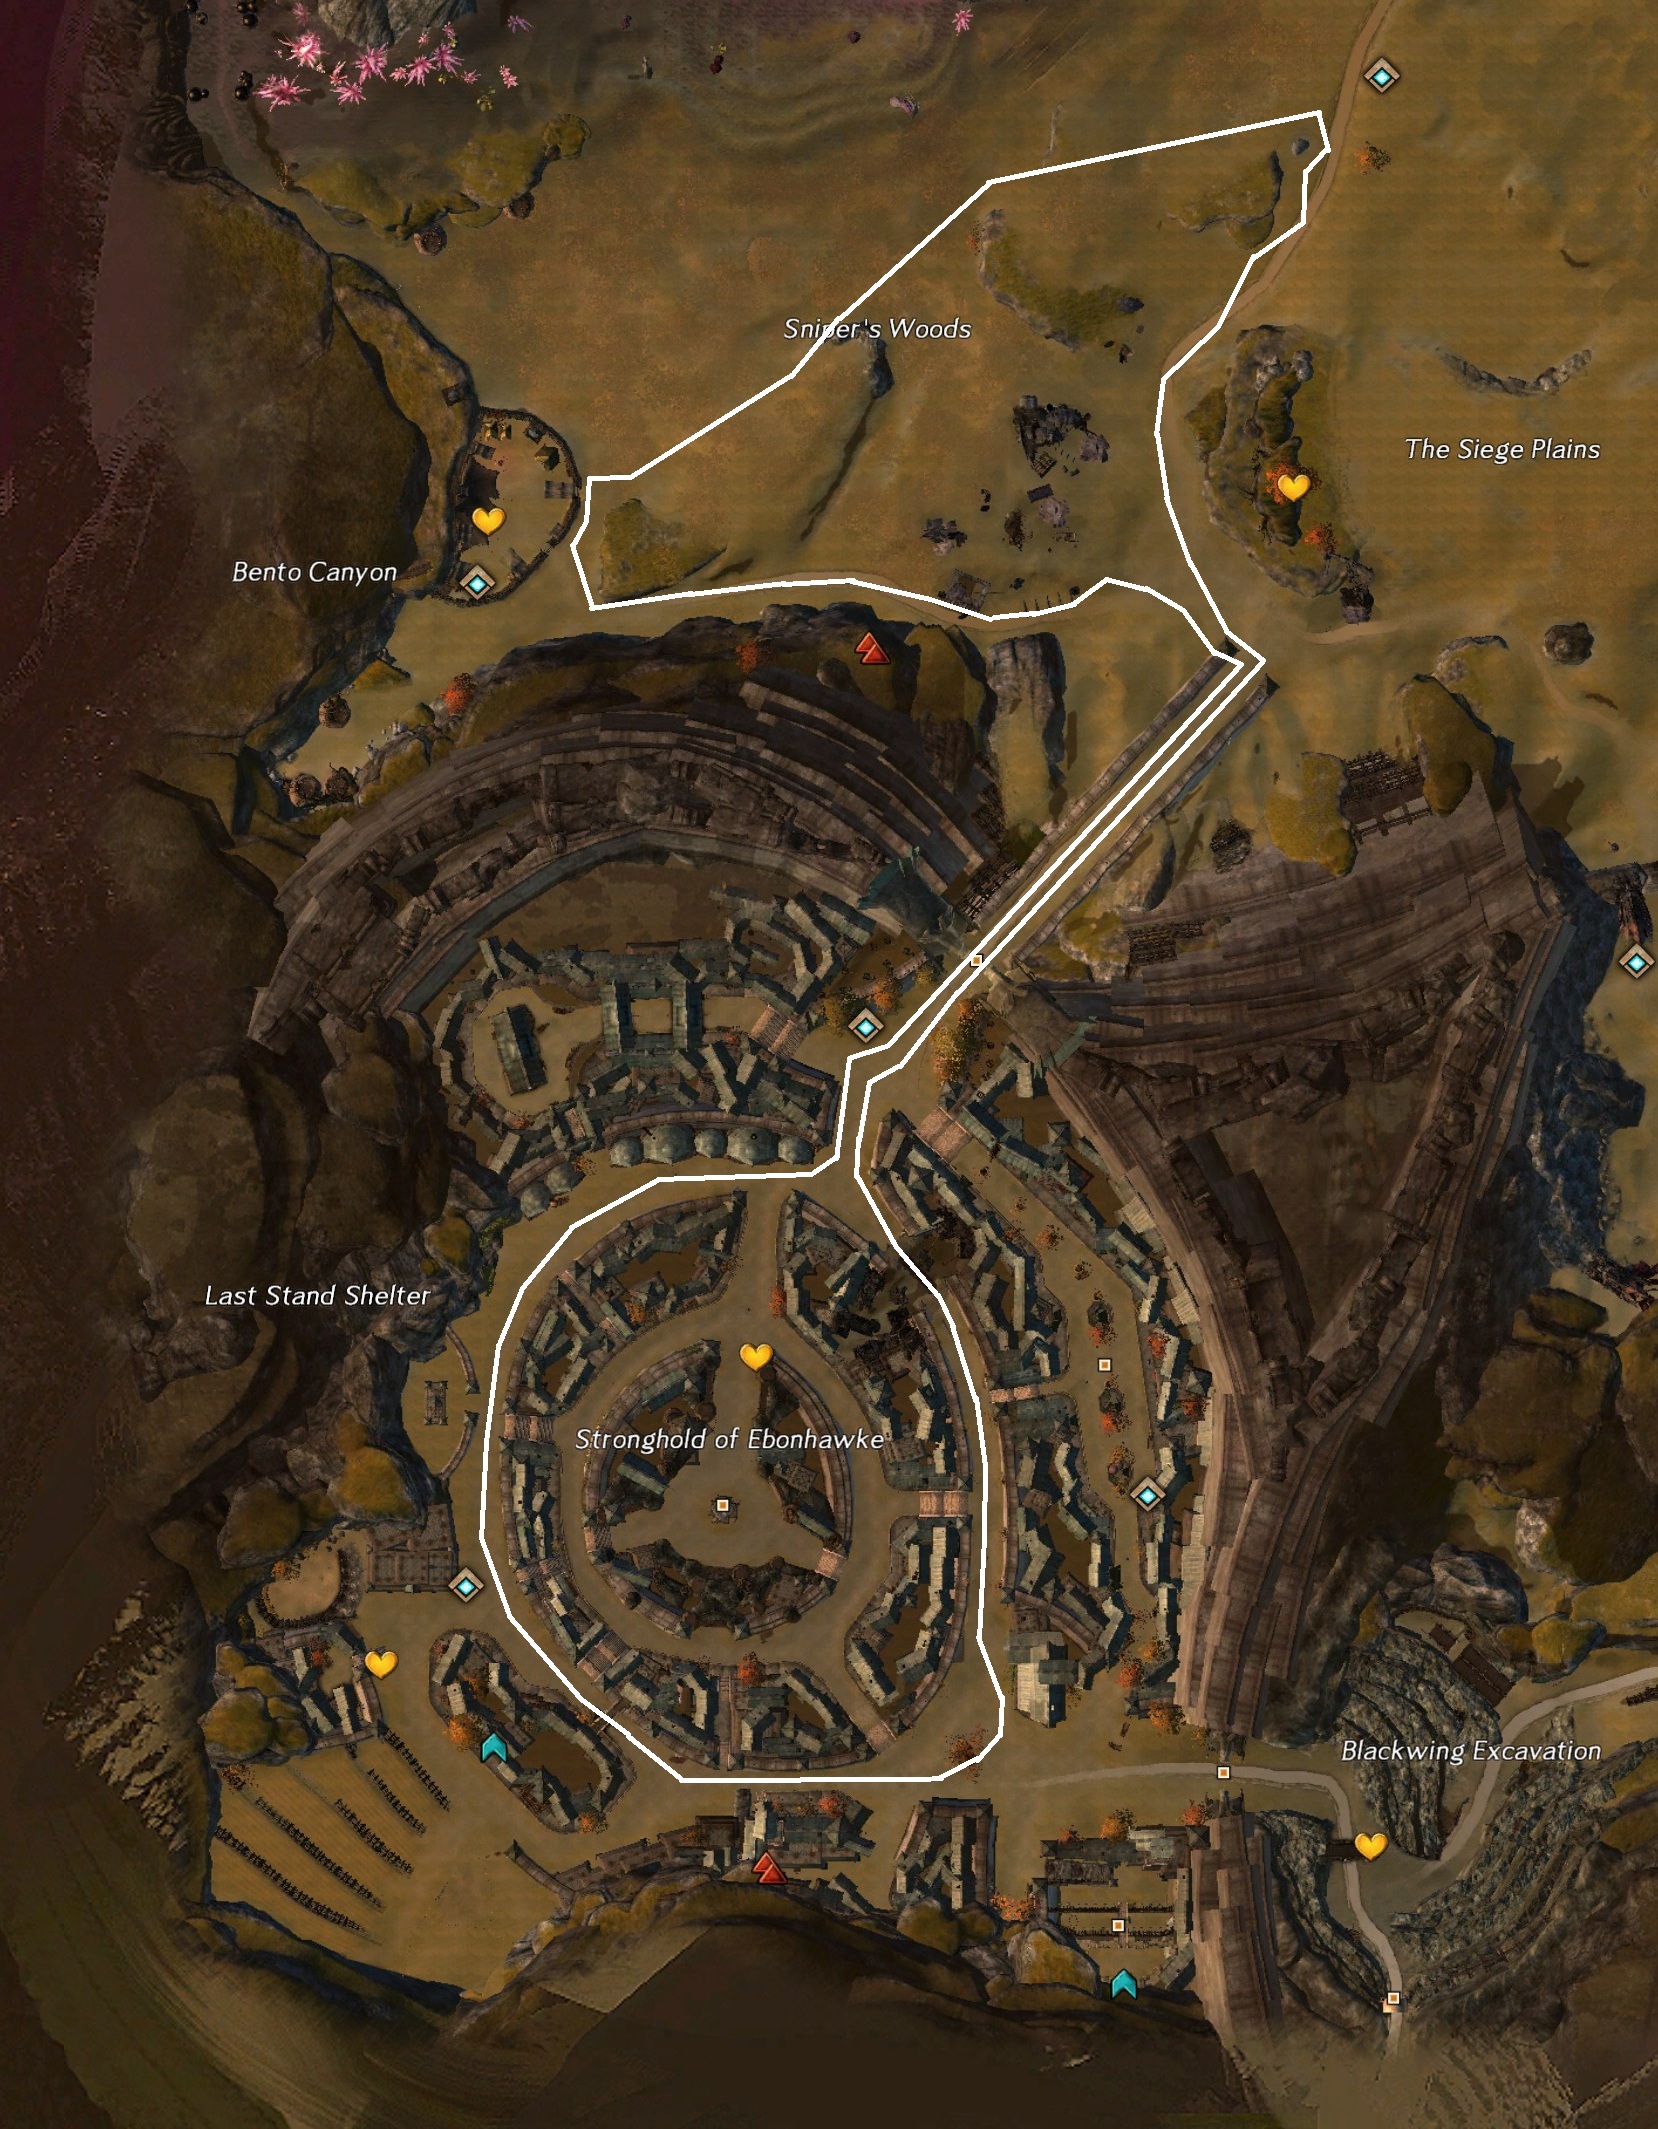
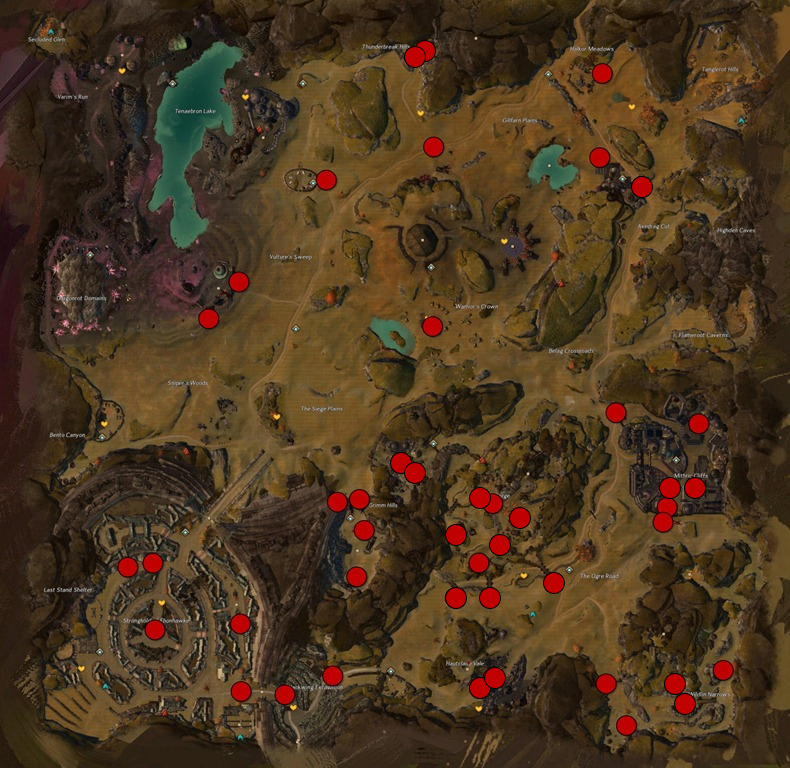
You have 15 minutes to find and defeat a randomly selected target from the list below.
Trivia[edit]
- Training bounties were added in the Flame and Frost: The Razing release.