Hide-and-Seek in Arborstone
From Guild Wars 2 Wiki
Jump to navigationJump to search
Hide-and-Seek in Arborstone is an Arborstone achievement.
This article also covers "Arborstone Hide-and-Seek Master", which is exactly the same except with a time limit of 60 seconds.
Walkthrough[edit]
- Use the "Teleporter to Second level" teleporter near the bank NPC in the south east of the bottom floor of Arborstone.
- Use the "Teleporter to Third level" in front of you (this takes you up to the platform with the Singer's Spirit statue).
- Talk to the Fledgling straight opposite the teleporter exit.
- Select "Let's do this!".
- Find the Fledgling at one of the locations listed below.
- Talk to him and select the only dialog option.
Achievement[edit]
| Hide-and-Seek in Arborstone | Arborstone | 5 |
|---|---|---|
| Win 20 games of hide-and-seek with the tengu fledgling in Arborstone. | Won 1 Game of Hide-and-Seek | 1 |
| Won 5 Games of Hide-and-Seek | 1 | |
| Won 10 Games of Hide-and-Seek | 1 | |
| Won 20 Games of Hide-and-Seek | 2 |
| Arborstone Hide-and-Seek Master | Arborstone | 1 5 |
|---|---|---|
| Find the hiding tengu fledgling within 60 seconds. | Find the hiding tengu fledgling within 60 seconds. | 5 |
- Achievement qualification may be tracked via the Eligibility: Arborstone Hide-and-Seek Master effect.
Locations[edit]
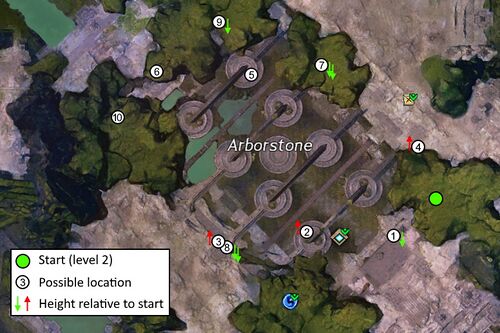
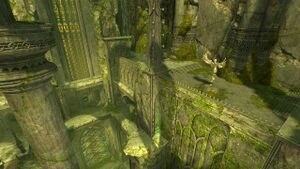
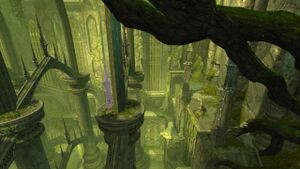
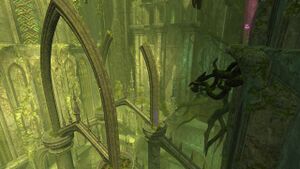
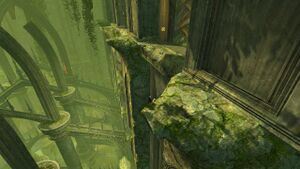
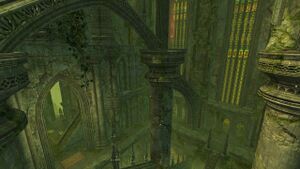
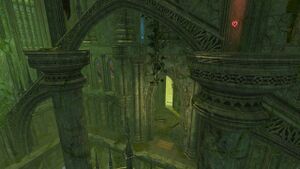
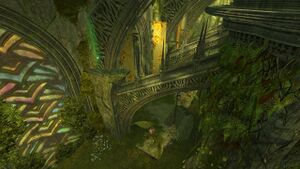
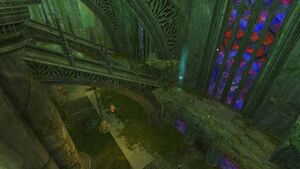
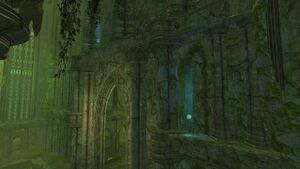
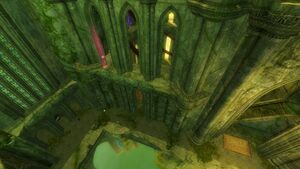
The possible locations of the Fledgling are shown both on the map below and as screenshots. The map shows relative height compared to the start position of the Fledgling on Level 2 of Arborstone.
With a Skyscale it is most efficient to check positions 2, 3 and 4 very early on as they are higher than the start position.
Notes[edit]
- The Prototype Position Rewinder can be used to get back to the starting position fast.
- If you can not find him, reset the Fledgling to his starting position by logging out to the character selection screen and logging back in with your character.
- Fledgling will also reset its position on their own after about 5 minutes.
- If you own flying mounts, there is one possible route to visit all positions in under a minute. Start on your skyscale to visit position 4 above the starting point (bounce off the wall and then use Bond of Vigor, or reset energy on the pointy pillar). From there, mount your griffon. Swoop down to check point 2 and up to point 3. Keep flying, through point 5 and then check 9 from above, go up a little for 6, fly over 10. Turn around and use max speed to fly back to point 1, turning around again to check points 8 and 7 last. All 9 points after point 4 can be done in a single flight.
- Using a commander tag to mark all positions can make it easier to check them during your flight.
Related achievements[edit]
 Arborstone: Arborstone Hide-and-Seek Master — Find the hiding tengu fledgling within 60 seconds. (5
 )
)
