Memories in Your Hand
From Guild Wars 2 Wiki
Jump to navigationJump to search
Memories in Your Hand is a collection achievement available during the Escape from Lion's Arch story instance and also from the The Battle For Lion's Arch public instance, part of the 2022 release Battle for Lion's Arch.
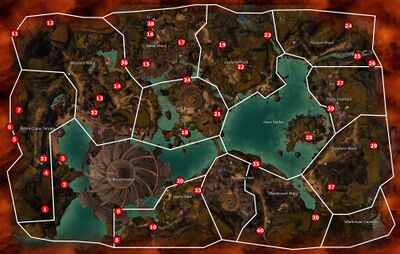
Note that only 30 objectives are required for the achievement, however, there are 40 objectives available. Once the achievement is complete, all 40 objectives will show as completed.
Achievement[edit]
| Escape from Lion's Arch | 5 | |
|---|---|---|
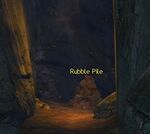
Find lost personal items in the city rubble during the Escape from Lion's Arch story mission or Battle for Lion's Arch mission.Mission: The Battle for Lion's Arch
|
Found 1 Heirloom | 1 |
| Found 30 Heirlooms | 4 |
Walkthrough[edit]
| Objective | Map | Location | Notes | |
|---|---|---|---|---|
| 1 | Location 1 | 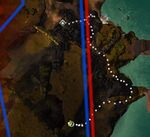
|
|
In the southwest corner of the map, in a nook in the cliff. Swim southwest from the Breachmaker and climb onto the rocky shore where fires are burning. |
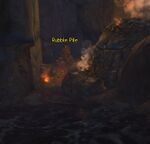
| 2 | Location 2 | 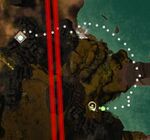
|
|
Southeast of the White Crane Terrace Emergency Waypoint, directly below the portal device next to Deputy Turma at water level. |
| 3 | Location 3 | 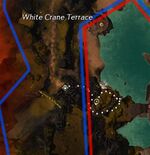
|

|
Start from the waypoint at White Crane Terrace. Follow the ramp and path counter-clockwise around the rocky outcrop to the east of the waypoint - there is a boardwalk which leads to a waterfall. Before the walkway reaches the waterfall, use the black basalt ledges to reach a cave behind the waterfall. |
| 4 | Location 4 | 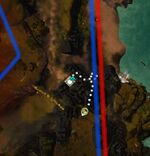
|

|
At the end of a narrow tunnel hidden by a plant at the bottom of the cliffside by the Pact Emergency Waypoint in White Crane Terrace. |
| 5 | Location 5 | 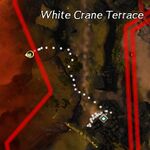
|
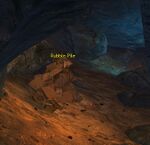
|
In a cave, at the west border of the map. The same cave as visited during Someone in Need achievement. |
| 6 | Location 6 | 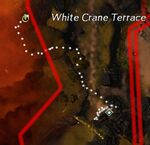
|
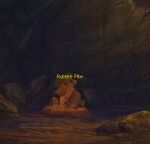
|
In a cave, at the west border of the map. The same cave as visited during Someone in Need achievement. |
| 7 | Location 7 | 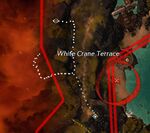
|

|
In another hidden cave just north of the one where 5 & 6 are found. |
| 8 | Location 8 | 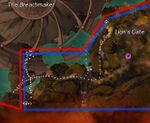
|

|
In a cave at water level south of the lighthouse. |
| 9 | Location 9 | 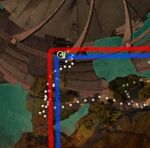
|
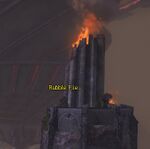
|
At the top of the lighthouse. |
| 10 | Location 10 | 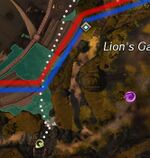
|
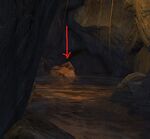
|
In a cave at the base of the last tier of the waterfall. |
| 11 | Location 11 | 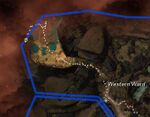
|
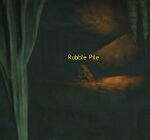
|
On a high ledge at the far west end of Hooligan's Route. Climb up the central stairs, jump from the top to some platforms around a stalactite, and from those to the ledge with the rubble. This one is surprisingly annoying due to the high respawn rate of Elite and Veteran enemies there. |
| 12 | Location 12 | 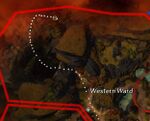
|

|
Enter the Hooligan's Route area in northwest Western Ward. Instead of walking up the steps to the top, take the path with the water to the right of the steps. Follow the wall until you see a small area you can swim into; there is a cave beyond. |
| 13 | Location 13 | 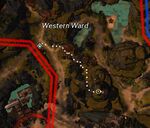
|

|
Starting from the waypoint at the west edge of Western Ward, climb up the house as if you were exploring the vista in the open world, but then continue south. The rubble is in a cave tucked in on the left near the open fire. |
| 14 | Location 14 | 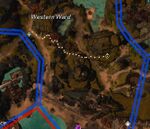
|
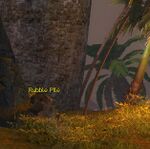
|
Starting from the waypoint at the west edge of Western Ward, climb up the house as if you were exploring the vista in the open world, but then continue east. Jump over to the ledge on the other side to reach the rubble. |
| 15 | Location 15 | 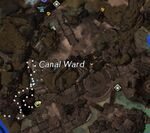
|
|
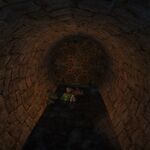
Found in a sewer tunnel under Canal Ward (approach from the northwest). |
| 16 | Location 16 | 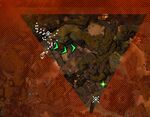
|
|
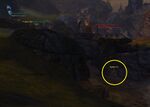
By the Canal Ward waypoint, below the stone ledge parallel to the bridge. |
| 17 | Location 17 | 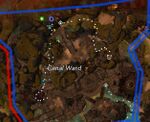
|

|
High above Canal Ward due north of the southern waypoint, reached via a path on the north side. |
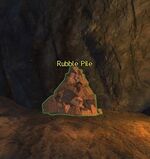
| 18 | Location 18 | 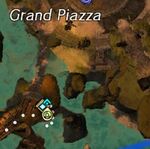
|
|
Below the Grand Piazza waypoint. |
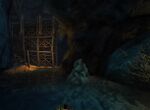
| 19 | Location 19 | 
|
|
From the south Canal Ward waypoint, head east keeping the wall on your left. Enter the broken sewer grating, follow the tunnel around the corner, then head east into the Lost Grotto. |
| 20 | Location 20 | 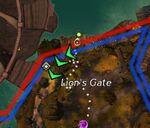
|
|
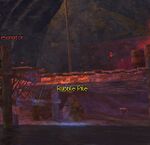
Below the dock at Lion's Gate. |
| 21 | Location 21 | 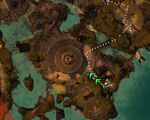
|
|
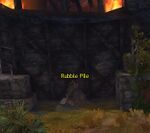
Southeast of the Grand Piazza |
| 22 | Location 22 | 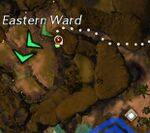
|
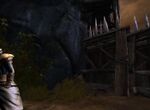
|
South of the "W" in Eastern Ward, against a barricade. |
| 23 | Location 23 | 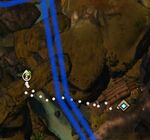
|
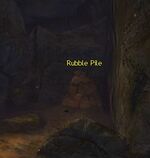
|
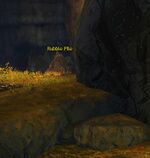
At the back of a crevice located west of the Pact Emergency Waypoint in Postern Ward. |
| 24 | Location 24 | 
|
|
At the top of a slope in the northeast corner of Postern Ward. |
| 25 | Location 25 | 
|
|
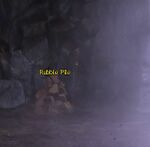
Behind the waterfall northeast of the Pact Emergency Waypoint in Priory Foothold. |
| 26 | Location 26 | 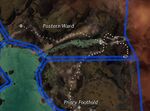
|
|
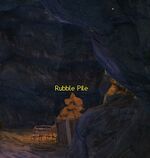
Tunnel entrance is at the back of the cavern above the heirloom at Location 25. |
| 27 | Location 27 | 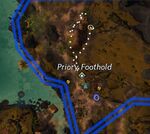
|
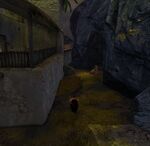
|
North of the waypoint at Priory Foothold, behind the big building. |
| 28 | Location 28 | 
|

|
Northwest of Farshore Ward waypoint, at sea level below the Inner Harbor island. |
| 29 | Location 29 | 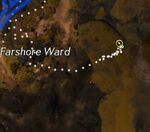
|
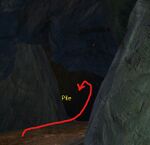
|
In a small cave east of Farshore Ward's waypoint. |
| 30 | Location 30 | 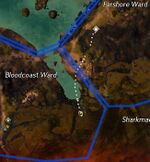
|

|
Swim through a cave at the base of the waterfall in Bloodcoast Ward (below where Weyandt's Revenge would end). |
| 31 | Location 31 | 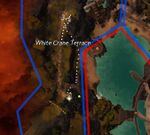
|
|
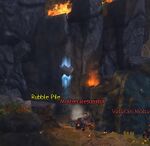
Beside the waypoint at White Crane Terrace. |
| 32 | Location 32 | 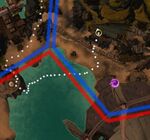
|
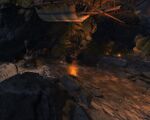
|
Along the southern shore of Western Ward. |
| 33 | Location 33 | 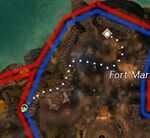
|
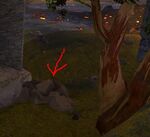
|
On the border between Fort Marriner and Lion's Gate, at the base of the fort's wall. |
| 34 | Location 34 | 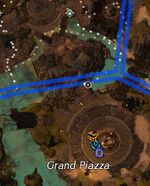
|
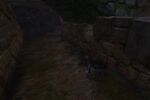
|
At sea level in the water north of Grand Piazza. |
| 35 | Location 35 | 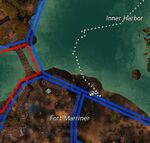
|
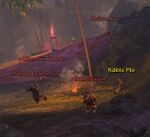
|
Due north of the last letter of "Fort Marriner" on the world map, by the shore. |
| 36 | Location 36 | 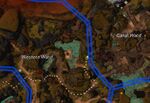
|
|
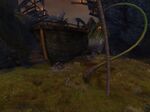
At the western edge of Canal Ward, against the west side of the Black Lion Trading Company Boat. |
| 37 | Location 37 | 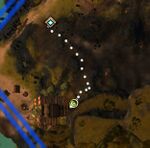
|
|
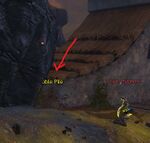
In Farshore Ward, south of the waypoint against the west wall of the windmill. |
| 38 | Location 38 | 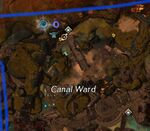
|
|
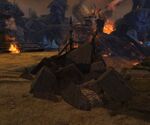
At the pile of rubble at the start of the instance. |
| 39 | Location 39 | 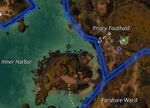
|
|
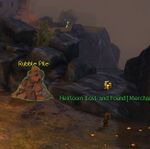
Beside the Priory Foothold waypoint. |
| 40 | Location 40 | 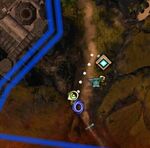
|
|
Beside the Bloodcoast Ward waypoint. |
Notes[edit]
- If you're working on this achievement via the Escape from Lion's Arch (story) instance, then it's not possible to reach Locations 1, 2, 3, 4, 5, 6, 7, 8, 9, 10, 11, 12, 13, 14, 20, 29, 30, 31, 32, and 37. You might be capable of reaching Location 33 with careful maneuvering.
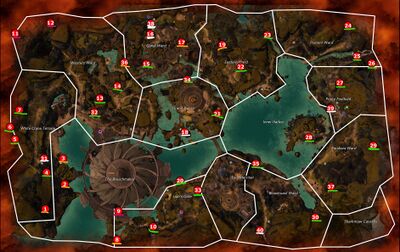
- For repeated farming, some Rubble Piles are significantly more work to reach than others and some are practically right next to waypoints. Indicated on the map to the right in difficulty to reach going from white to green to orange to purple for the most difficulty.
See also[edit]
