Delving for Treasure
From Guild Wars 2 Wiki
Jump to navigationJump to search
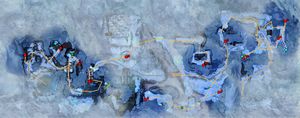
Delving for Treasure is a Visions of the Past: Steel and Fire achievement, available during the scrying pool episode Darkrime Delves.
Achievement[edit]
| Delving for Treasure | Visions of the Past: Steel and Fire | 6 |
|---|---|---|
| While journeying through Darkrime Delves in the Scrying Pool's visions, explore to find lost treasures. |
Discovered 3 Hidden Chests | 1 |
| Discovered 6 Hidden Chests | 2 | |
| Discovered 12 Hidden Chests | 3 |
Chests[edit]
- Note: This table has been sorted in a logical sequence that the chests are encountered in, identified as Chests A to L.
| Logical sequence | Achievement panel # | Map | Description | Coordinates |
|---|---|---|---|---|
| A | Treasure Chest 4 | 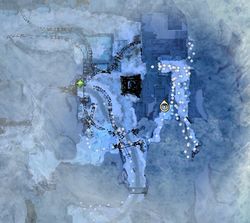
|
After opening the second gate, you'll find a cart track inside the left-hand corner. Follow it up and around and the chest will be in front of you guarded by a Veteran enemy. | [20299.5, 1044.5] |
| B | Treasure Chest 2 | 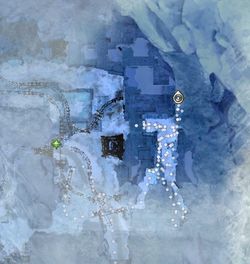
|
After Chest A, you can drop down to the right and follow the corridor to the north east. The chest is at the end.
Alternatively, after the first door, you can burn through an ice wall to the north east which leads into the same corridor. |
[20256.9, 1150.3] |
| C | Treasure Chest 10 | 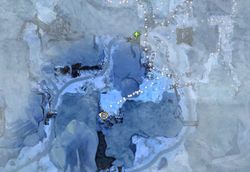
|
After the first door, go north (past Bangar's route) and around to the left. Halfway along this back path, you can climb a ramp on your left. At the top cross the cart track bridge to the other side and follow around to the right. The chest is guarded by a Champion Stone Summit Crusher. | [20039.0, 1275.9] |
| D | Treasure Chest 3 | 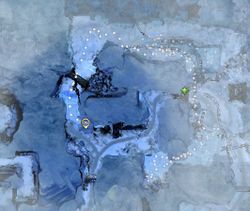
|
Take the back path as in Chest C, but continue along it to an ice wall. Burn through this, kill the Veteran Ice Troll, and go to the edge. The chest is now visible to your left. | [19925.1, 1171.4] |
| E | Treasure Chest 6 | 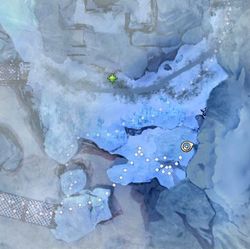
|
You can just glide down southbound from the chest D point. After the big door, stick to the left wall and go down the ice ramp. Chest E is under the ramp. | [19884.0, 1490.7] |
| F | Treasure Chest 8 | 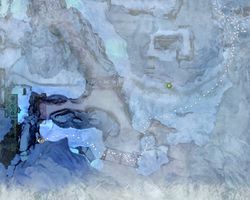
|
Continue from chest E over the southern bridge (past the Champion Ice Beast) and the chest is found against the far wall. | [19423.9, 1538.4] |
| G | Treasure Chest 12 | 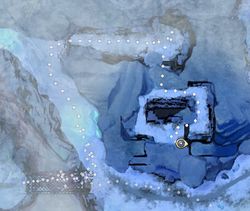
|
At the middle bridge, take a right up the path to the northern bridge. On your right before that bridge is an ice wall. This pathway leads onto Almorra's ledge, and the chest is just prior to it on the left. | [19787.1, 1320.2] |
| H | Treasure Chest 9 | 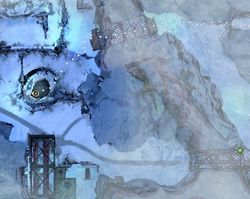
|
Go to the northern bridge and cross it. To the south west you should see a Veteran Icebrood Claymore on a circular platform. The chest is on the platform guarded by it. | [19292.7, 1277.3] |
| I | Treasure Chest 5 | 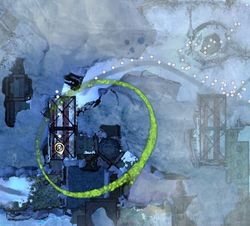
|
This chest is underneath the second elevator (the one you use). Either pull the lever without standing on the elevator or glide down after you pull it (Prototype Position Rewinder also works). | [19072.6, 1420.9] |
| J | Treasure Chest 1 | 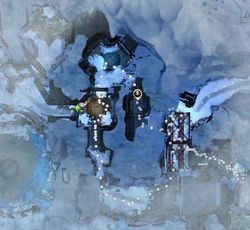
|
After the elevator, follow the path to the first required ice wall. Instead, burn the ice wall to the north and defeat the Champion Ice Elemental. The chest is around the corner to your right. | [19010.6, 1311.9] |
| K | Treasure Chest 11 | 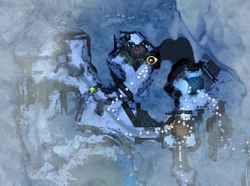
|
At the second required ice wall after the elevator turn to your right. There is another ice wall on the right (easier to miss since it's on the inside of the corner). Through here is the chest, by the right hand wall. | [18890.9, 1214.6] |
| L | Treasure Chest 7 | 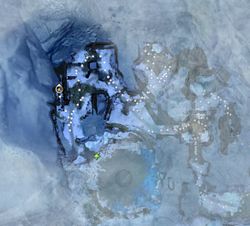
|
When you get to the end of the path (before leaping down to face Almorra), do a 180 degree turn. As you double back, you will see the chest in an alcove on the left (hidden from view when heading to the end). | [18668.7, 1259.0] |
Notes[edit]
Treasure Hunter: Darkrime Delves is an additional associated achievement from Seasons of the Dragons in Return to the Eye of the North, and is available during the scrying pool episode Darkrime Delves, but only 3 chests of the 12 are needed to complete the achievement.
