Guild Wars 2 Wiki:Projects/Darkroom/How to Take Images
Project Darkroom: How to Take Images | |
First: File Format[edit]Use .jpg (sometimes seen as .jpeg) for uploading:
.png files should really only be used for icons such as The reason is that .png files are usually huuuuge and that's not good for fast viewing, so .jpg is preferred for most files. Second: No UI[edit]By default you have something called "Postprocessing" on. This means that things like objects, npcs, resource nodes, etc will have an outline when you mouse over them. If this is left on, you get: We want images that reflect how they look in the game, and that means no outlining, no names over their head, nothing that shows an indicator. To turn this off, go to Options -> Graphic Options -> scroll down to where it says Postprocessing and change it to None.
Third: Make it Shine[edit]The trick to taking bright pictures of NPCs is that most of them will turn if you try to talk to them, so use this to turn NPC towards the sun or light source. Sometimes NPC will still be a little dark, or sometimes they're in an area that is dark, so what you can do is leave your cursor over them: the npc is will be brightened as a result of your mouse being over them. But be careful, this can sometimes wash an NPC out, making them unnaturally bright, so it should only be used if necessary.
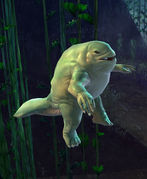
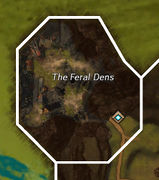
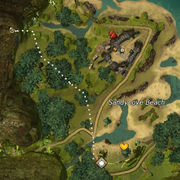
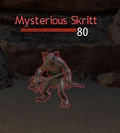
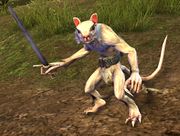
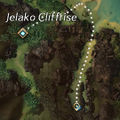
Fourth: Bigger Pictures are Better[edit]Remember that skritt picture above? It's so tiny it looks like the skritt is playing a banjo. Go and click on the other skritt picture. It's nice and large and we can see the skritt is in fact holding two swords, we can even see it has some pouches on its belt. While keeping this in mind, sometimes just because a picture is large doesn't mean it's great, which leads to the next section about... Both NVIDIA and AMD graphic cards (provided they are newer cards) possess a feature that lets the users display games at non-native settings, resulting in a screen resolution of 4k (3840x2160). This is incredibly useful in taking high quality screenshots. For NVIDIA gpus, this feature is called Dynamic Super Resolution (DSR). In case of AMD, it is called Virtual Super Resolution (VSR). Additionally, you can reach even better results if you own a monitor that can be set up vertically (resulting in the resolution 2160x3840). Fifth: Cropping and Editing[edit]Cropping[edit]This is mainly an issue with maps, but it does relate to NPCs too. Photos should be cropped so that only the reason you took the picture is being shown. For example:
We didn't need the entire map of the area, just that section, so the image was cropped to focus just on just what that guide/map was showing. Cropping should also be used to remove: User Interface or other NPCs that aren't relevant as well as players from pictures. Editing[edit]Sometimes your mini Griffin Plushie wants to make a special guest appearance (see the first version), or somethings you take a picture of a map for an event but you've got lots walking dots in it that makes it look like the night sky. It doesn't mean you have to retake the picture (though sometimes that can be the easier option). If you have a decent editing program such as Gimp or Photoshop, you can use the Clone tool to carefully remove these little extra things. Last: The Trick to Angles[edit]When it comes to taking pictures from straight on (if possible) of NPCs, there are two tonics I recommend: Endless Arid Devourer Tonic (container) and Endless Exalted Bastion Tonic (container). These are both fairly cheap on the Trading Post (less than 10 silver upon writing for both) and can allow you to take pictures from a different height. The Arid Devourer Tonic will make you the same height as most charr, humans and sylvari, the Exalted Bastion Tonic will make you the same height as a norn. For asura, it's best to simply take the photo on an asuran character. In the General Options - Camera the Vertical Position Near can change the height of the camera or for those playing Norn or Asura, Adjust Camera to Character Height. Other things to read[edit]
|

